The DIY Deck Standing Desk
I love the outdoors and being in nature, perhaps the only possible outcome of a farm upbringing. A 100-acre backyard is a dream come true for the majority of young boys, and many men do not outgrow this love of the outdoors. As winter is behind us and many a pleasant evening lies ahead here in Lynchburg, VA, I will be spending the majority of my free time outside, and ideally in nature or as close as I can get while still staying productive.
The end goal is to channel my inner Thoreau and build an "office" deep in the woods somewhere, but for now, a backyard do it yourself standing desk will suffice until I can find the perfect piece of land for said office. We have a second story deck off of our townhouse, and our lot backs up to a five-acre tract of woods that makes for an idyllic setting for dinners, reading, relaxing, or working. While sitting in a chair and reading while facing the woods is relaxing, no doubt, I have always wanted to write on this deck, and a semi-permanent, removable standing desk was the only possible option. The deck is not big enough for a permanent desk, nor would I want to keep one outside. Then, of course, we have the benefits of standing, as we know that productivity, and creativity are increased when we stand.
I document the build process below for anyone that might want to try it as well, and while this custom build was specific to my deck, no doubt you will be able to tweak the design to fit whatever type of deck/balcony/railing system you have. Be creative and have fun with it - the benefits to standing outside while working are well worth it!
Supplies
- Deck railing or balcony, preferably at a right angle
- Desk
- Desktop finish (not needed for all...but much needed for me as I will explain below)
- Adhesive (not needed unless you have a finish for the desk...again see below)
- Braces
- Wood screws
Tools
- Tape measure
- Screwdriver or Drill
- Pencil
Desk
I prefer a larger desk surface, and went with a 3/4 x 22 x 48 inch piece of plywood that can safely hold my iPad Pro, several journals, papers, coffee mugs, etc.. As far as standing desks go this size is plenty big enough for my ideal setup, and I can always move items to the floor if I need more space. I say safely above as safely relates not to the weight the desk can hold, but to the amount of "stuff" one can put on the desk and not be worried that it might fall over the edge. I love my Logitech CREATE Keyboard Case for the iPad Pro, but certainly wouldn't want to test fully its capabilities by having the iPad fall over the edge from 15 feet up!
Desktop Finish
You may not need a finish for the top of the desk of only using it for writing with a laptop or in journals. I went with a 22 x 48 Acrylic covering as I plan on writing on the desk with my fountain pen, and as any fountain pen aficionado can tell you, writing on a rough wood surface with a fountain pen is a bad idea. Not only will the ink feather on the paper, but the rough surface of the wood will put unneeded stress on the nib of the pen, causing damage at the least and completely ruining the nib at worst.
Adhesive
I went with a spray cement that bonds to both plastic and wood.
Braces
These are used to anchor the desk to the deck railing, and prevent the desk from falling over the edge. I went with a 4x4 Joist Tie -
Wood Screws
I see 8 x 3/4 screws - be sure that the screws do not poke through the plywood!
The Build
1. Determine the desk placing. I wanted to be able to lean safely and comfortably on the desk, specifically with my right arm, and made sure to place the desk so that my arm was directly over the deck railing for maximum support.
2. Determine the brace positioning and screw in the braces. By anchoring the braces to both legs of the right angle I prevented the desk from sliding over the edge from either direction. The key here is to make sure the braces are flush against the railing to prevent movement. I used a screwdriver - yes, I have a drill, but something about using a bit of "elbow grease" makes the build a bit more satisfying (and let us be honest, this is a short, easy build, there is no need for a drill).
3. Apply the desktop finish. Again I went with an acrylic finish - smooth and able to handle a fountain pen nib with ease. The acrylic finish is also easy to clean...no doubt there will be ink and coffee spilled with regular frequency in the future!
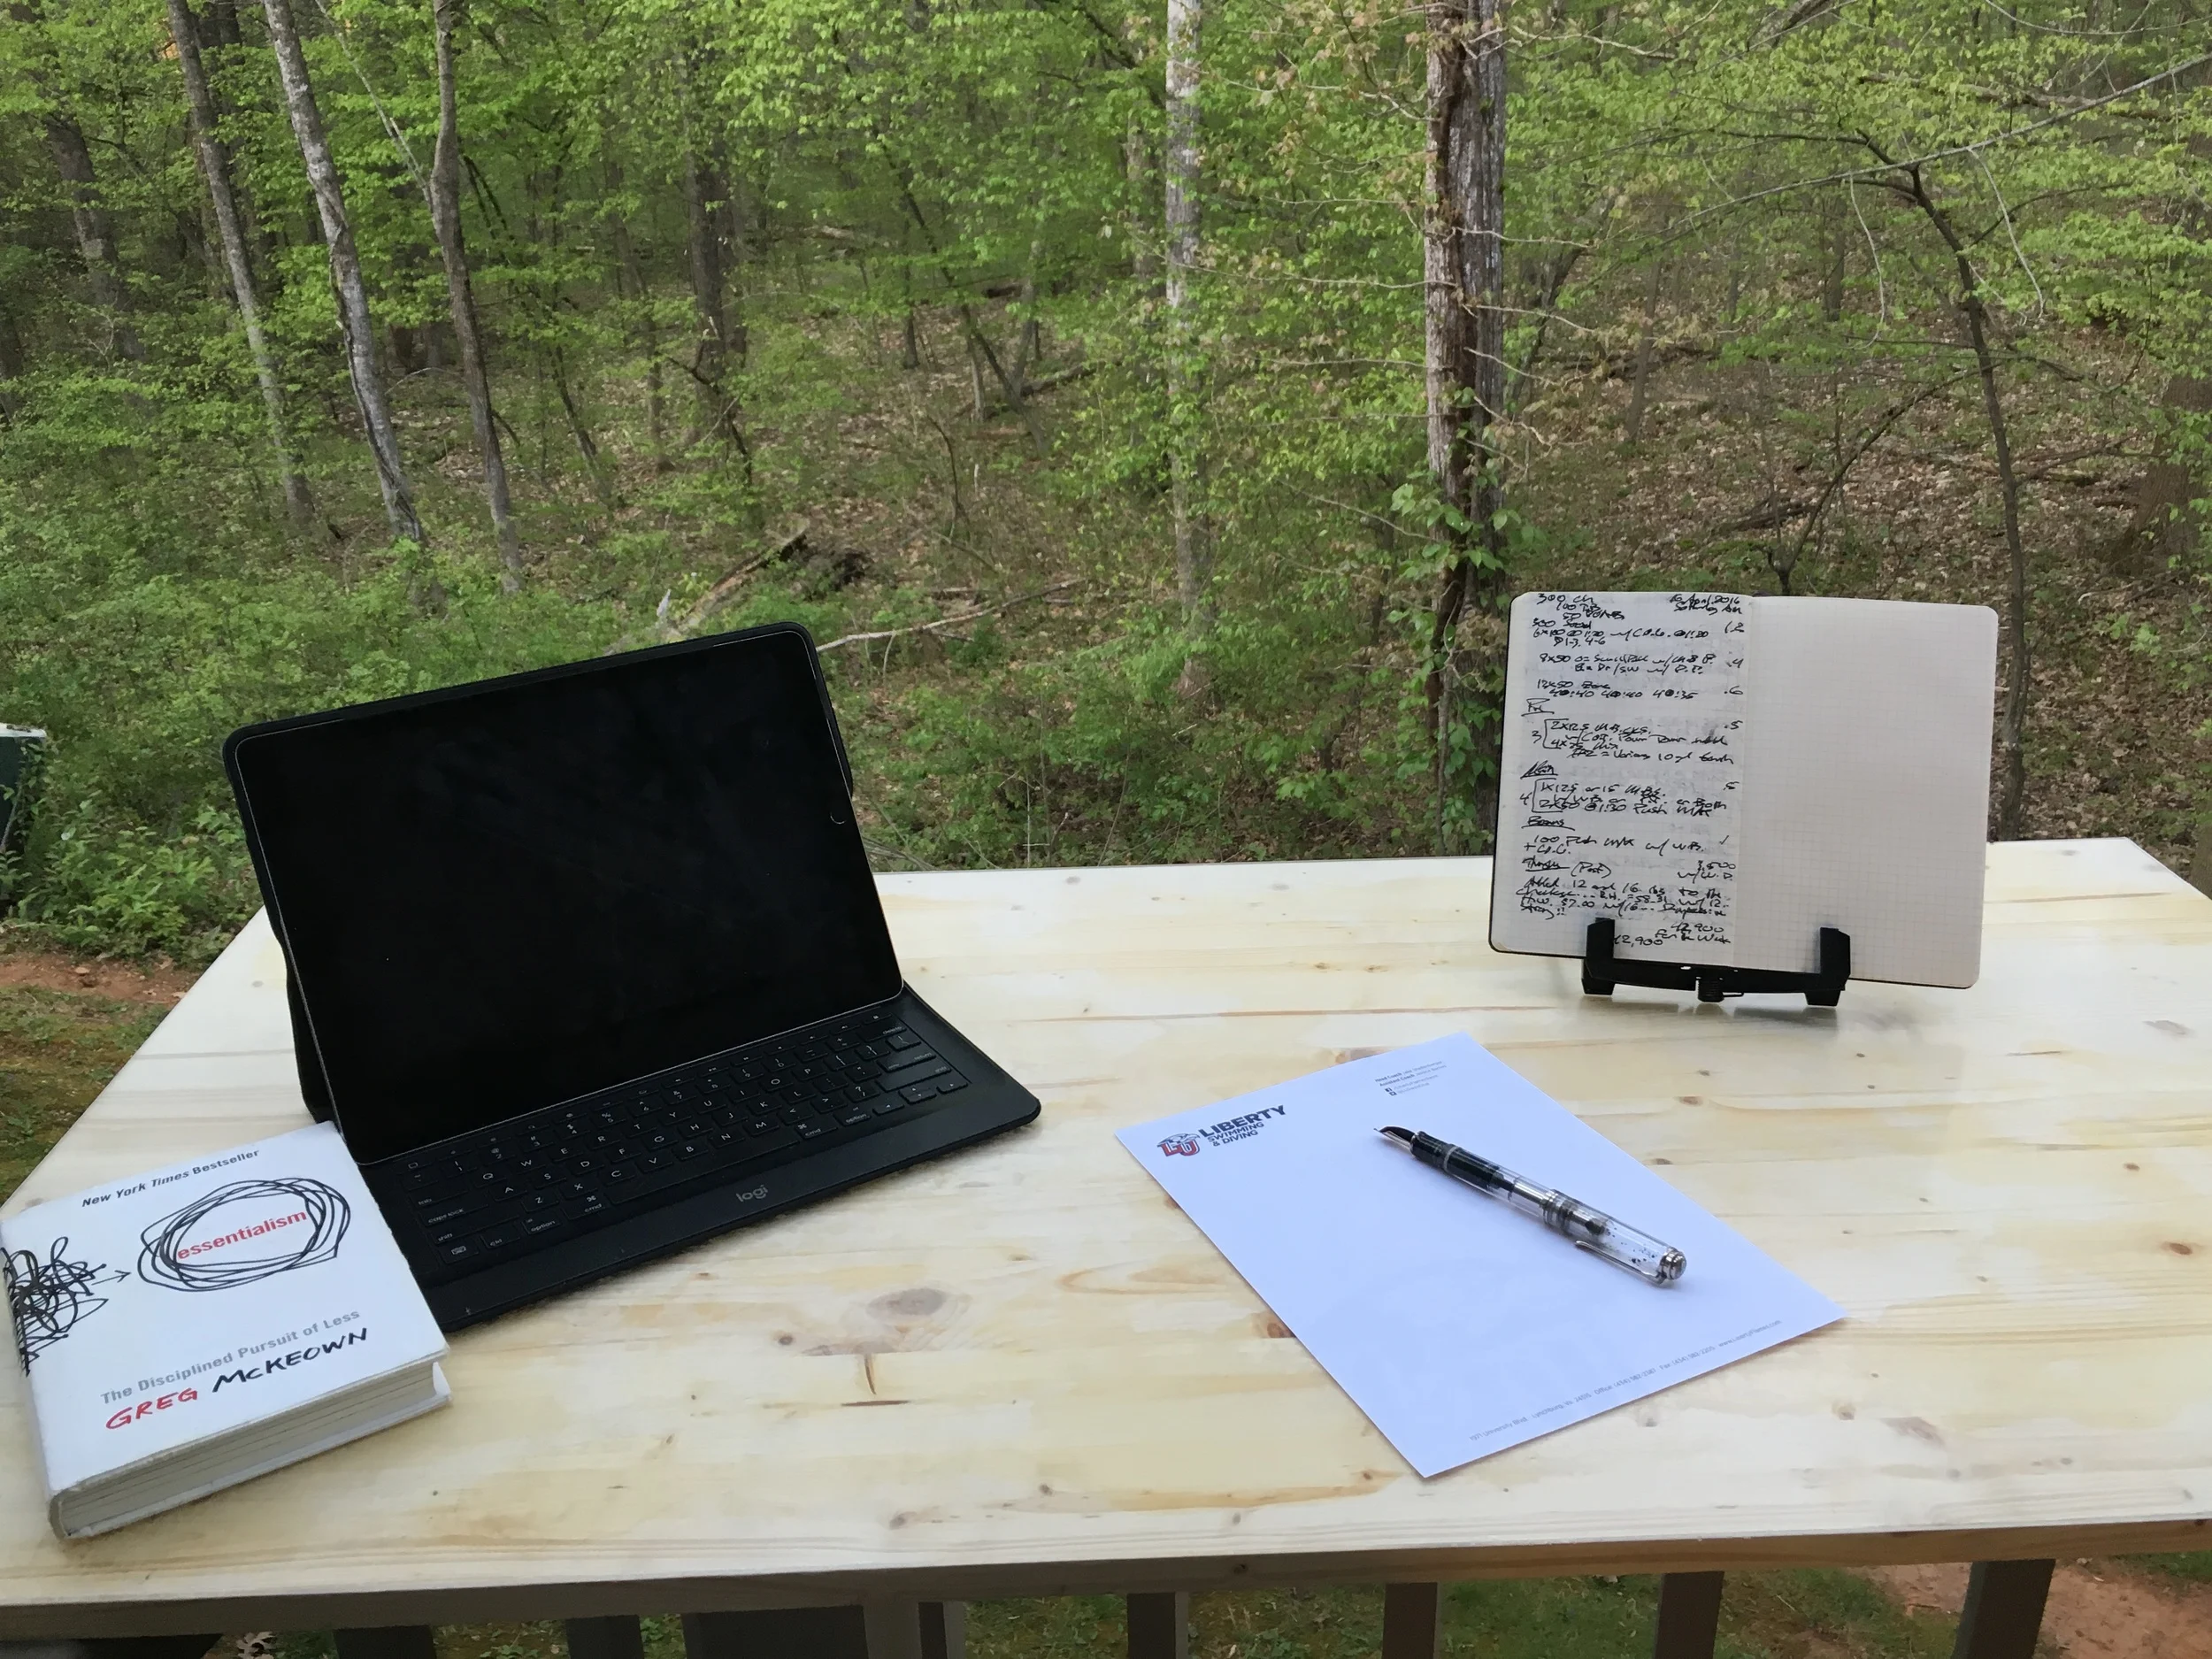
4. Admire the finished product!
5. When finished, simply slide the desk away from the railing and store.
Cost
- Desk - 22.98
- Finish - 25.98
- Braces - 9.80
- Adhesive - 15.98
- Wood Screws - 5.58
Total - 80.32
Build Time
- One hour
There you have it, a semi-permanent standing desk using a deck railing for 80 dollars and less than one hour of work. I wish I could say that I wrote this article from said desk, but I wanted to let the cement dry fully before using, and wanted to let it breathe a bit as the fumes from the glue are certainly toxic. This desk and the picturesque background will serve me well this summer, and I envision myself writing swimming workouts, emails to recruits, future blog articles, journal entries, and the Power Tower book from this spot. While looking at the woods pales in comparison to actually being in the woods, my Thoreau cabin will have to wait, and I don't want to be too far from the little man you see in the video above. This setup allows me to relax and work stress-free in while not being too far from home, and I am excited to get to work tomorrow.
As always, let me know your thoughts and thank you for reading.